How To Clean Cats Ears – Step By Step Guide
To clean your cat’s ears, first check for signs like wax buildup, redness, or a foul odor. Use a vet-approved ear cleaner and gently apply it while holding your cat securely. Let your cat shake its head to loosen debris, then wipe the outer ear with a cotton ball or gauze.
Avoid deep insertion to prevent irritation. Clean only when needed and consult a vet if you notice persistent issues. Keep following for detailed tips on proper care and timing.
When To Clean Your Cat’s Ears
When should you clean your cat’s ears? You should clean your cat’s ears when you notice signs of infection or irritation. Regular ear checks at least once a week help you catch issues early.
If your cat shows excessive scratching, head shaking, or if you detect foul odors, it’s time to clean your cat’s ears. These symptoms often indicate ear infections or wax buildup needing attention.
Some breeds, especially with floppy ears or a history of ear problems, may require more frequent cleanings.
However, if you observe red or inflamed skin or if your cat seems in pain during cleaning, stop immediately and consult your veterinarian.
Regular ear checks and timely cleaning prevent complications and maintain your cat’s ear health.
How To Inspect Your Cat’s Ears Before Cleaning
Before cleaning your cat’s ears, you need to carefully inspect them to identify any signs of issues such as wax buildup, redness, or discharge.
Gently hold your cat to keep it secure while you inspect for visible debris or wax in and around the ear canal. Look closely for inflammation, including redness or swelling, which can indicate irritation or infection.
Check for any foul odors, as these often signal underlying problems. Also, examine the ear canal for discharge, a common sign of ear mites or infections requiring veterinary care.
To maintain your cat’s ear health, regularly inspect its ears as part of a weekly routine.
Early detection of signs of infection helps prevent complications and guarantees timely treatment if needed.
Supplies Needed For Cleaning Cat Ears

Gathering the right supplies is essential for safely and effectively cleaning your cat’s ears. You’ll need an ear-cleaning solution specially formulated for cats, cotton balls or gauze to gently wipe away debris, and alcohol wipes to sanitize the ear cleaner’s tip.
A towel or blanket helps keep your cat calm and secure during the process.
Don’t forget treats to reward your cat afterward, fostering a positive experience. These simple steps can make the whole process smoother for both you and your furry friend.
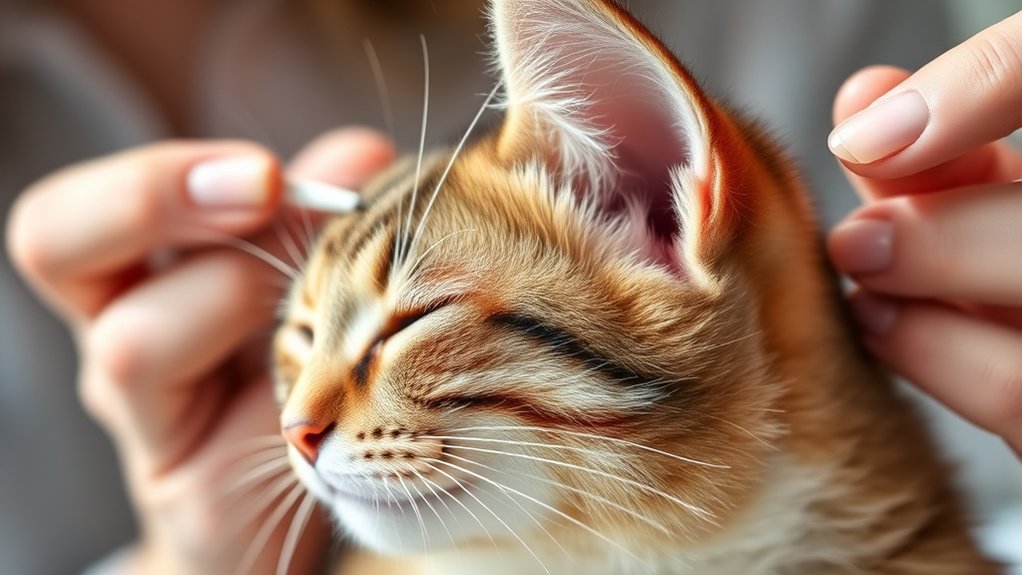
How To Calm And Hold Your Cat During Cleaning
Although cleaning your cat’s ears can be challenging, calming and securely holding your cat guarantees a safer and smoother process.
Begin by speaking softly and using gentle, soothing strokes to help your cat stay calm. Secure your cat in your lap or on a stable surface, facing away from you to create a comfortable and safe environment.
Wrap your cat snugly with a towel or blanket; this not only provides comfort but also limits sudden movements. Hold your cat firmly yet gently to prevent stress or injury.
If possible, enlist a second person to assist by holding or distracting your cat with treats.
Approach the process patiently, allowing your cat time to adjust. This way, you and your cat both remain calm and secure throughout the cleaning.
It really makes everything go smoother.
Gently Applying Ear Cleaner
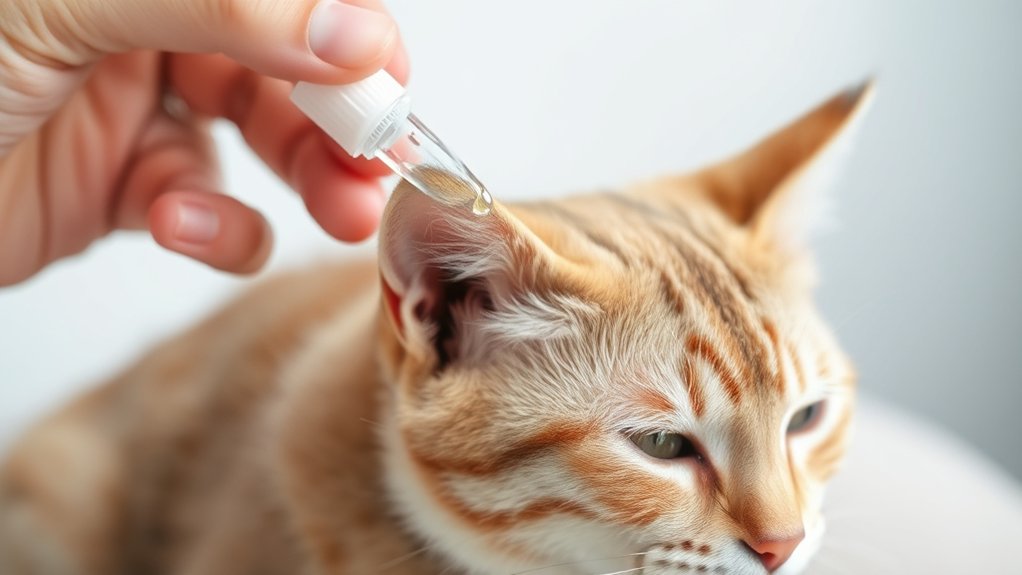
Once your cat is calm and securely held, you can gently apply the ear cleaner. Hold your cat’s head firmly but gently, pulling back the ear flap to expose the ear canal without touching it. Squeeze a few drops of the ear cleaner into the ear canal, following the product instructions.
Avoid pressing the bottle tip into the ear to prevent contamination. After applying, gently massage the base of the ear to help the solution break down wax and debris. Let your cat shake its head to expel loosened debris and excess cleaner.
| Step | Action |
|---|---|
| 1 | Hold cat’s head gently |
| 2 | Pull back ear flap |
| 3 | Apply drops of ear cleaner |
| 4 | Avoid touching ear canal |
| 5 | Allow cat to shake head |
How To Massage Your Cat’s Ears For Best Results
Hold your cat’s head gently and begin massaging the base of their ear in a circular motion. This helps to distribute the ear cleaner evenly throughout the ear canal.
Apply moderate pressure to gently massage the base, ensuring the solution can break down debris and wax effectively.
Keep this massage going for about 30 seconds, as outlined in this step-by-step guide. Pay close attention to your cat’s reactions. If your cat seems uncomfortable, stop immediately and soothe them with a calm voice.
Creating a positive association during this process is essential, so always reward your cat with treats or praise afterward.
This careful approach helps keep your cat’s ears clean while making future cleanings easier and less stressful for both of you.
Letting Your Cat Shake To Remove Ear Debris
After applying the ear cleaner, let your cat shake its head freely to help dislodge loosened debris and excess solution from the ear canal. This natural behavior helps expel foreign material effectively, making it a vital step in the cleaning process.
To prevent mess, provide a towel or blanket nearby to catch any debris your cat might shake out.
While your cat shakes, keep a close eye on them for any signs of discomfort or distress. These could mean there’s an underlying issue that needs a vet’s attention.
Once the shaking stops, gently wipe the outer ear canal with a cotton ball or gauze to remove any remaining debris.
This careful approach makes sure the cleaning is thorough while keeping your cat comfortable and safe. It’s a simple step that goes a long way in caring for your furry friend’s ears.
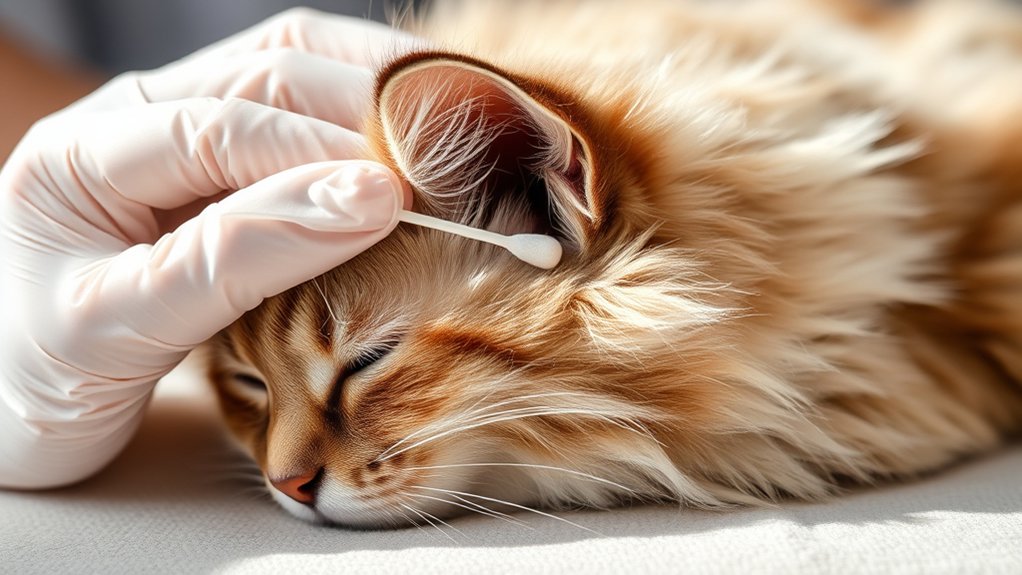
Wiping Away Dirt And Wax After Cleaning
Although your cat may have shaken out much of the debris, you still need to gently wipe away any loosened dirt and wax from the ear flap and upper ear canal using a cotton ball or gauze.
During cleaning, avoid inserting anything deep into the ear canal to prevent injury.
To effectively wipe away wax build-up and debris, use a fresh cotton ball or gauze for each wipe. Clean only as far as your finger can comfortably reach.
Inspect for remaining wax or discharge and repeat if necessary.
Dispose of used cotton balls immediately to maintain hygiene.
And don’t forget to reward your cat with treats or praise to help them associate ear cleaning with something positive.
This careful approach guarantees thorough cleaning while keeping your cat comfortable and safe.
How Often To Clean Your Cat’s Ears
You should clean your cat’s ears only when you notice visible dirt, wax buildup, or unusual odors.
Most cats don’t actually need regular cleaning. However, breeds with floppy ears might need it every few months.
It’s a good idea to check your cat’s ears weekly.
And if you’re ever unsure, just ask your vet for advice on how often to clean them.
Cleaning Frequency Guidelines
Most cats only need their ears cleaned when you notice visible debris, discharge, or a foul odor, which could signal an issue. Following proper cleaning frequency guidelines helps prevent irritation and infections.
Here’s what you should keep in mind: perform regular ear checks weekly to spot any visible signs early.
Clean ears only when wax build-up or discharge is present. Certain breeds with floppy ears may require ear cleaning every few months.
Avoid over-cleaning, as it can cause ear canal irritation.
Always consult a veterinarian for personalized ear cleaning advice, especially if your cat shows signs of ear infections.
Signs Indicating Cleaning
How often should you clean your cat’s ears? You should inspect your cat’s ears weekly for signs of wax buildup, dirt, or discharge.
Cleaning is necessary when you notice symptoms like excessive scratching, head shaking, or foul odors, which could indicate ear infections.
Some breeds are more prone to infections and may require more frequent attention. If you detect inflammation, persistent wax buildup, or behavioral changes related to their ears, consult your veterinarian for proper cleaning guidance.
Regular inspections and timely cleaning help maintain your cat’s ear health and prevent infections.
When To Visit The Vet For Ear Care
Although regular at-home ear cleaning is important, knowing when to visit the vet for ear care is essential to prevent complications. You should seek professional help when you notice signs that go beyond routine maintenance.
Watch for these key indicators: signs of ear infections like excessive scratching, head shaking, or foul odors. Also, visible wax buildup, inflammation, or swelling that doesn’t improve with home cleaning.
Keep an eye out for unusual discharge or ears that look red or scaly. If your cat shows pain or discomfort during at-home ear cleaning, that’s another reason to see the vet.
And don’t forget, any concerns spotted during regular veterinary check-ups should be addressed promptly. Taking action quickly with your vet helps your cat avoid worsening conditions.
Knowing when to visit the vet for ear care keeps your cat’s ears healthy and supports their overall well-being.
Frequently Asked Questions
Can I Use Homemade Solutions to Clean My Cat’s Ears?
You shouldn’t use homemade ear cleaners or natural cleaning solutions without vet approval. Many DIY recipes contain unsafe ingredients like essential oils that can irritate your cat’s ears. It’s best to avoid those.
Stick to products with safe ingredients designed specifically for cats. Also, follow the recommended cleaning frequency to avoid any harm. This way, you keep your cat’s ears healthy without causing discomfort.
Always check with your vet for ear care tips tailored to your cat’s needs. They can guide you on the safest and most effective ways to clean your cat’s ears. That way, you’re protecting your furry friend from damage or irritation.
What Signs Indicate an Ear Infection in Cats?
You’ll notice an ear infection in your cat if they show excessive scratching or head shaking.
Look for ear discharge, which can be brown, yellow, or black, and a foul odor coming from the ear. Redness and swelling are clear signs, along with a sensitivity increase around their ears.
Sometimes, your cat might even experience balance issues due to the infection’s impact.
If you spot these, consult your vet promptly. It’s better to get it checked early to avoid any complications.
Just keep an eye out for these signs, and don’t hesitate to reach out to your vet if something feels off.
Is It Normal for Cats to Resist Ear Cleaning?
Of course, your cat loves ear cleaning said no one ever. It’s completely normal for cats to resist ear cleaning because their sensitive ears make handling uncomfortable.
You’ll need gentle handling strategies and positive reinforcement to ease this. Using resistance techniques wisely, like gradual desensitization, helps improve cat behavior during grooming.
Can Ear Cleaning Cause My Cat Pain?
Yes, ear cleaning can cause your cat pain if you use improper ear cleaning techniques or harsh products. It’s really important to understand your cat’s ear anatomy so you can avoid sensitive areas.
Keep an eye out for signs of discomfort like vocalizing or sudden movements. These are your cat’s way of telling you something doesn’t feel right.
Use safe cleaning products and the right tools, and only clean as often as recommended.
After cleaning, be gentle with your cat to prevent irritation. If the pain continues or you notice any issues, don’t hesitate to consult your vet. They can help protect your cat’s ear health and make sure everything is okay.
How Do I Prevent Ear Mites in My Cat?
You mightn’t expect it, but maintaining a clean environment plays a key role in ear mite prevention.
Combine this with regular veterinary check-ups and using safe cleaning products during grooming to keep mites at bay.
Don’t overlook the benefits of a healthy diet, which supports your cat’s immune system.
Watch for signs of discomfort like scratching, and act quickly.
Following these cat grooming tips helps you protect your feline friend effectively.
Conclusion
Cleaning your cat’s ears is like tending a delicate garden. You need patience, the right tools, and careful attention. By regularly inspecting and gently cleaning, you help your feline friend avoid discomfort and keep their ears healthy.
Remember, if you notice persistent issues, it’s time to consult your vet. With consistent care, you’re not just cleaning ears; you’re nurturing your cat’s well-being and strengthening the bond you share.